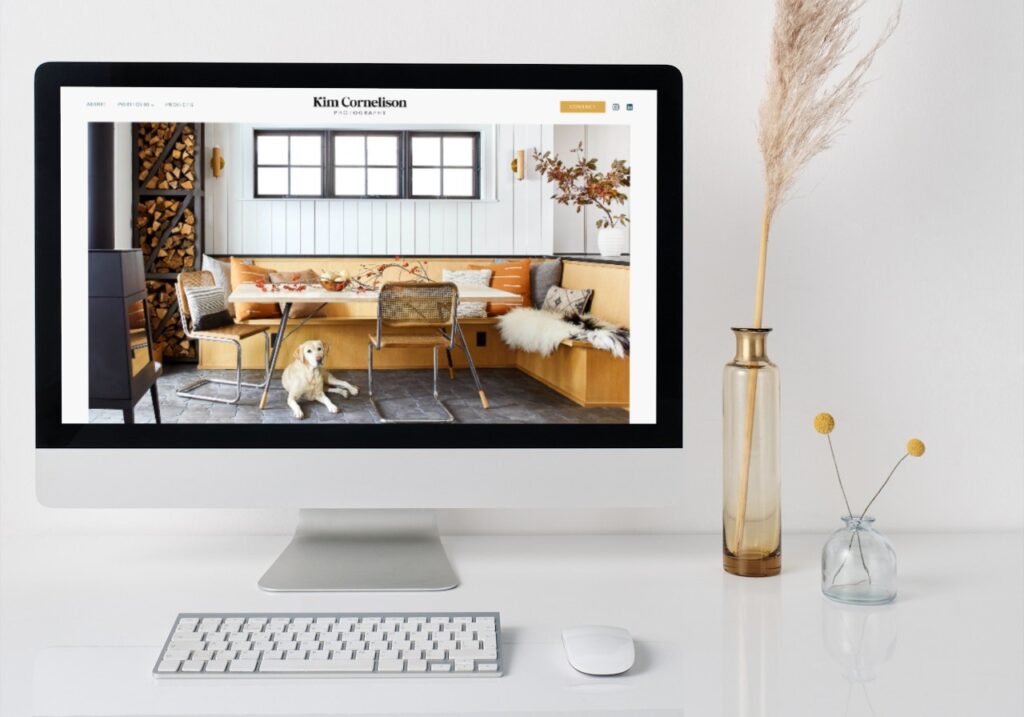
Start a Squarespace website for your creative business in 5 simple steps
If you run a small creative business, SquareSpace is one of the easiest ways to get a website up quickly. While I am a WordPress geek, and absolutely love it for versatility, I highly recommend SquareSpace for clients that need a website right away, one that looks great and is simple to use.
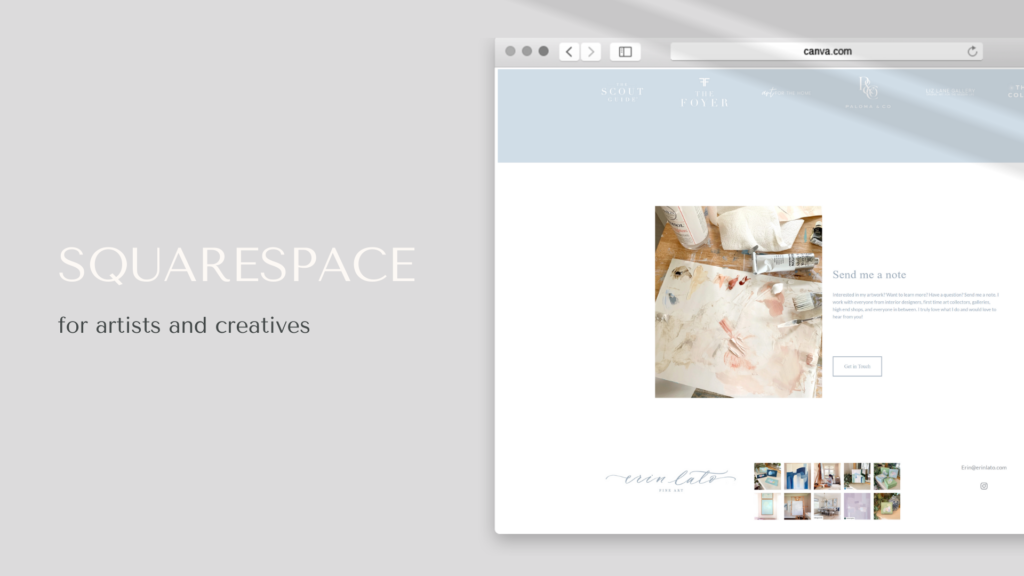
I used to think SquareSpace lacked creativity and while it’s more limited than WordPress it can do more than enough for most small businesses. I especially like it for websites with small shops. Recently we’ve created SquareSpace sites for an artist, floral designer, and hot sauce creator. All of these businesses are very small (1-2 people) and all are selling products through their website. SquareSpace makes it easy to manage all aspects of marketing and sales.
Here’s how to Start a SquareSpace website for your business.
Step 1:
Sign up for a SquareSpace account
Go to the SquareSpace website and start with the free trial. You’ll later need to choose a plan so take a look at the options now. If your website features your services and doesn’t sell products, the Personal plan will work for most. If you have a shop, I recommend starting with Business. Then once your revenue increases, upgrade to Commerce, which will reduce your transaction fees.
Step 2:
Decide on a design template
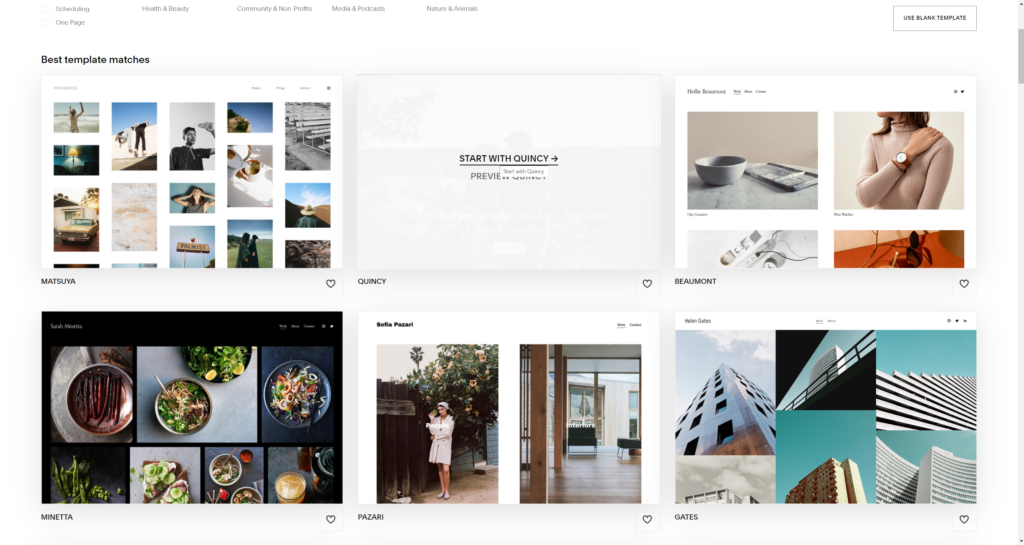
SquareSpace has a great selection of free templates, or you can opt for a premium template from a designer (check out our curated template shop which shows some of our favs). If you purchase a template from a designer, the process of getting it setup will be different depending on who you choose to work with. Many setup the template for you with the demo content. In this case, skip to Step 3.
With a free template, you’ll just browse the selection and hover over the template you want. You’ll have the choice of previewing the template or “start with…”.
Step 3:
Name your website and pages
Once you’ve chosen the template, it will auto install and ask you for a name of your website.

The next few steps show you around SquareSpace. Once you’ve clicked through all come to a page that shows a list of the pages that are included in the template you chose. You’ll see the list on the top left of the screen.
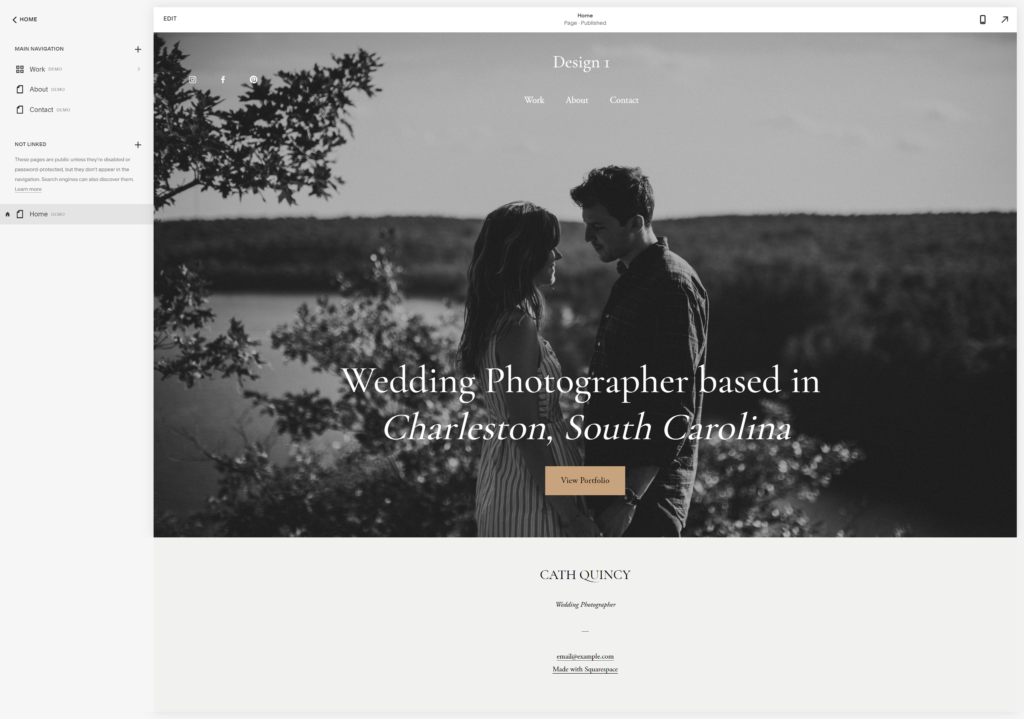
You’ll want to go through the page list and click on any page that you’d like to rename. There is a little gear icon that appears when you highlight the page name. This will pop-up a window that gives you the options to change the name and add SEO information (you can do that part any time).
If you need additional pages, choose the template page most similar to the new page you want, and open that same gear icon. Towards the bottom of the box is the option that says Duplicate Page.
If you want a new page that has different options than the pages included in your template, click the + sign and choose Page Layouts. This will give you predesigned options to choose from for your new page.

I do highly recommend that if you are brand new to SquareSpace and website builders, you choose a template that has the pages you want, so you don’t have to make too many changes.
Step 4
Add your written content and images to your website
I strongly recommend having everything gathered before you start on designing your website. For advice on preparing for a new website (either with a professional web designer or DIY) read my articles 4 Steps to Create a Strategic Website and How to Choose the Best Portfolio Images for your Website.
Start with your home page. Click on Home and then choose Edit from the top left. Once you’re in Edit mode you can click on any text and change it to your own. You can also click on the pencil on the top right of each section, which gives you many design options. The most important one being to switch out the background image. You can see the image selection in the white pop-up box below.
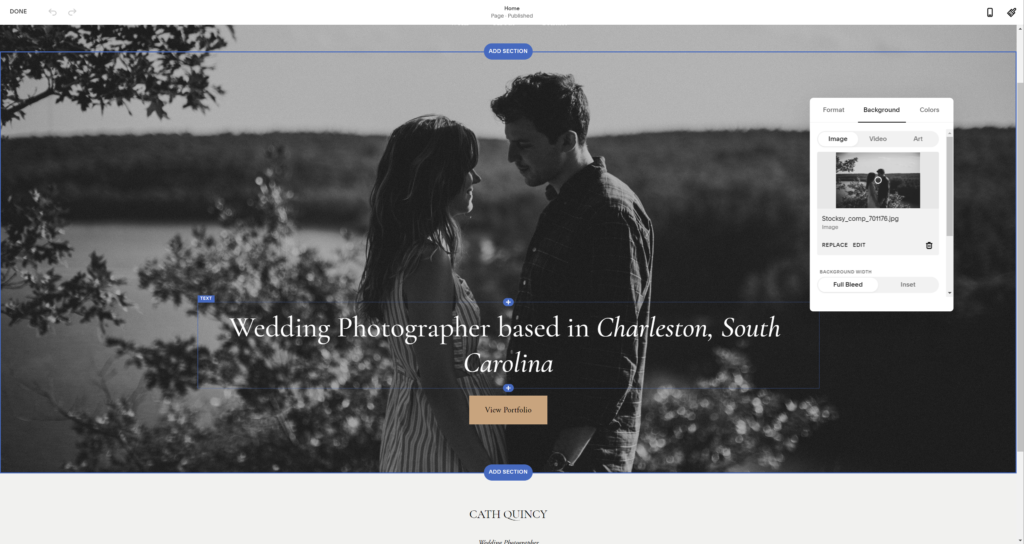
Repeat this action for each section on your home page, and then click Done on the top left corner. Once the home page has all your content, go to the next page of your site and do the same.
To preview your site at any time on mobile, click the phone icon on the upper right.
Step 5
Publish your Website
Once your website looks as you want it to. Click Home (top left) and then choose Settings. Next, click Domains. Here you’ll be able to connect a domain you already purchased or have SquareSpace connect you with a new one.
After Domains is finished, go back to Settings and choose Site Availability. This will give you the option to choose your plan and Publish your website.
In this case, I believe done is better than perfect. Get the first draft out there and come back to tweak it. If you follow these steps, you’ll have a complete SquareSpace site for your business that can grow with you. Later, you can customize the design, add a blog, add a store, and make the site exactly what you need.
If you have questions, always feel free to send me a note. If you’d like to hire us, we’re available for coaching and website design.


